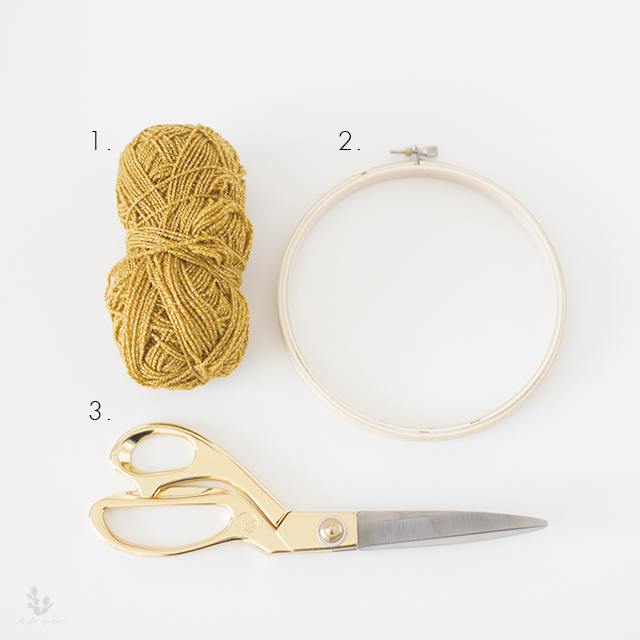
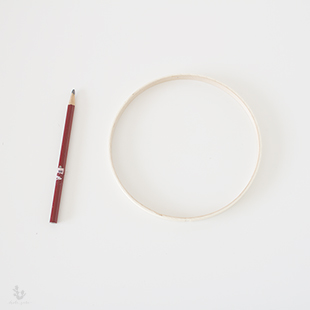
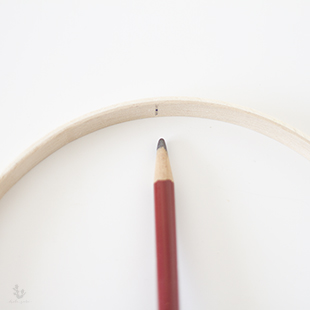
Hola amigos! It’s been a busy week, so I’m posting today instead of Wednesday. Today’s DIY only requires 3 materials and 4 steps, and the whole process can be done in no time. If you want to add some variety to your home decor, with just a bit of effort, then this DIY is for you! Spruce your space with my DIY yarn wall-hanger.
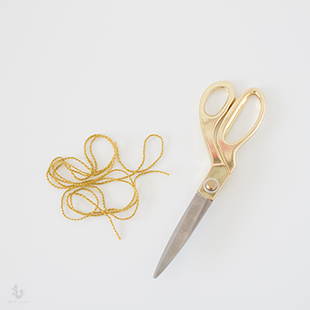
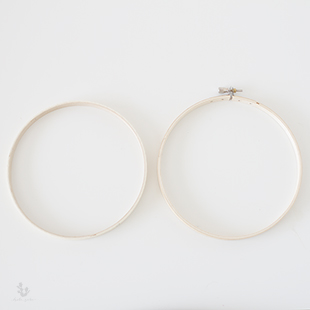
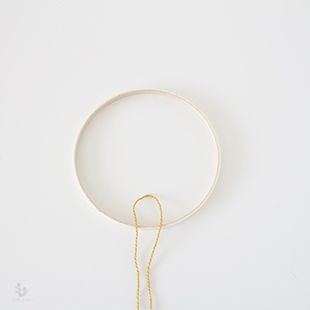
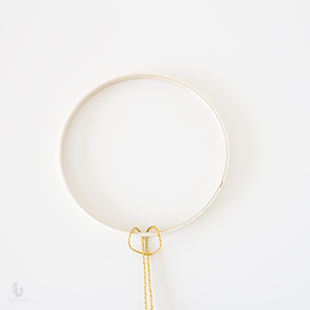
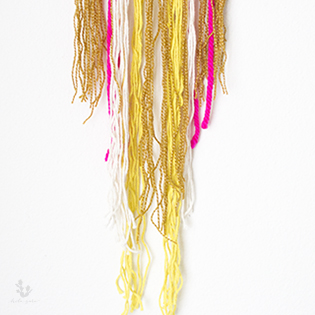
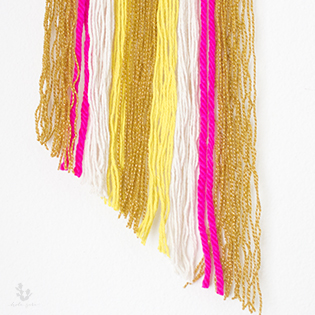
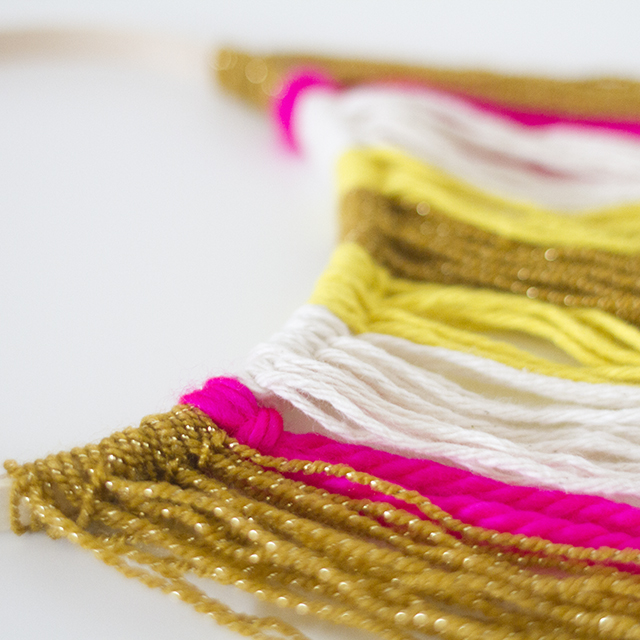
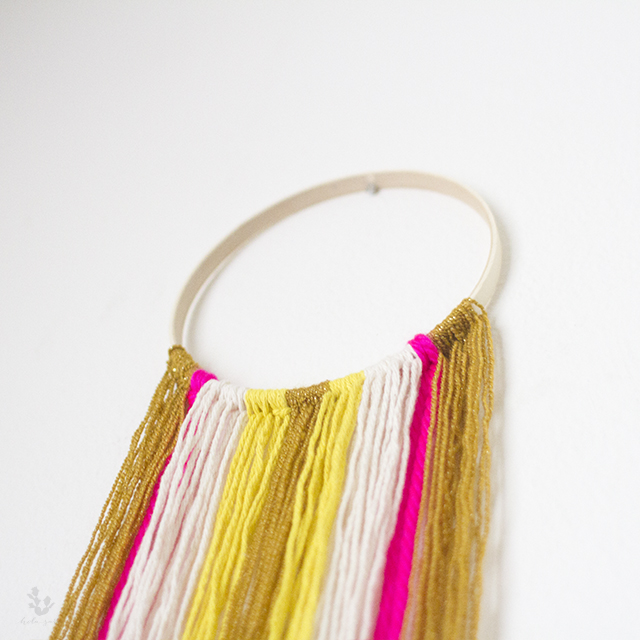
You can get creative and choose as many colors as you like. I used 3 different colors – gold, white and hot pink! I didn’t keep time, but I did I complete this project while watching 2 episodes of “Parenthood” — 40 minutes each. I recommend cutting each string of yarn to the same length, mine were 80 inches, but don’t worry if they’re not, because you will cut the ends once they’re all tied to the embroidery hoop. You can cut them in a straight line, at an angle like I did, or your own pattern. All that’s left is to grab a nail and hammer and hang it on your favorite wall.


Don’t forget to share your finished project online with #mymadebyholasara.