Today’s special post is a DIY that I am very happy to make. I’ve been so excited over the past month, and couldn’t wait to share this with you. eHow has chosen 6 talented creators to make one home decor project using four specific materials and their imagination. The creator with most pins/regrams will be the winner! Use my pinterest at the bottom of the post and lend your support! For this #ProjectThrowdown challenge, they asked us to use:
- Ikea Lack Table
- One sonotube
- Paint, stain or decoupage
- Chain(s)
My DIY is a vertical hanging planter! I love cacti and succulents, and I wanted something to display them. I decided to use just the Ikea tabletop for this project. If you have an Ikea lack table from college, or have one laying around not really being used, why not up-cycle your tabletop into a something cool?!

Materials
- sonotube
- tape measure
- brackets w/ screws
- screws
- pencil
- chain
- box cutter
- painters tape
- drop cloth
- spray paint
- ikea lack tabletop
- drill*
- clamps*
*not shown
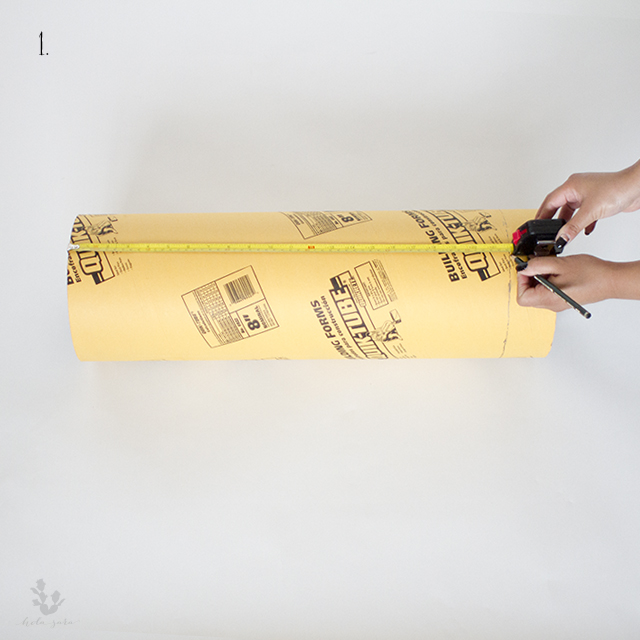
Step 1:
Use your measuring tape and pencil to measure 22 inches of the sono tube, you’ll be left with 2 cylinders. This will be the same length of your Ikea tabletop. With the box cutter carefully cut amount you just measured.
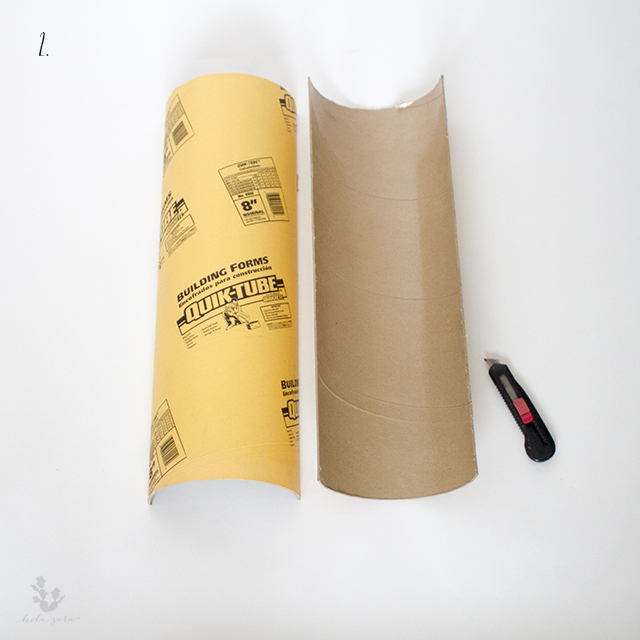
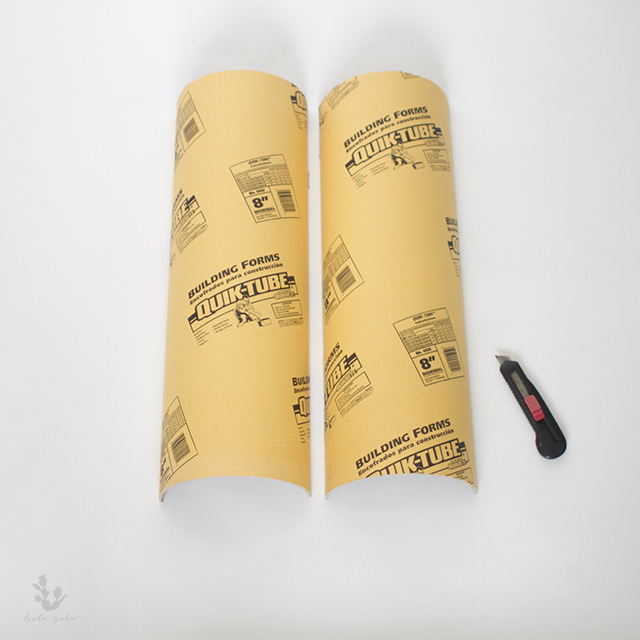
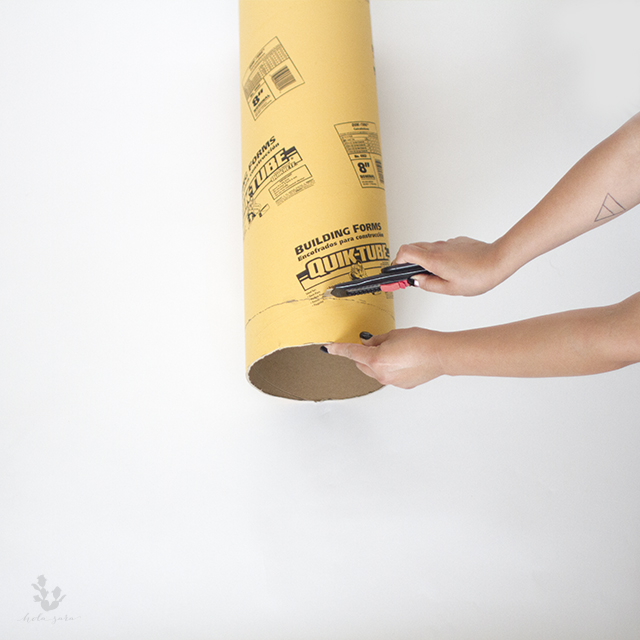
Step 2:
Now that your tube is cut to the correct length, you will cut it again, but this time creating two half pipes. Draw a line on one side, and draw a line on the exact opposite side of the tube. I eyeballed this part, but you can use a tape measure too. The result will be two equal half pipes.
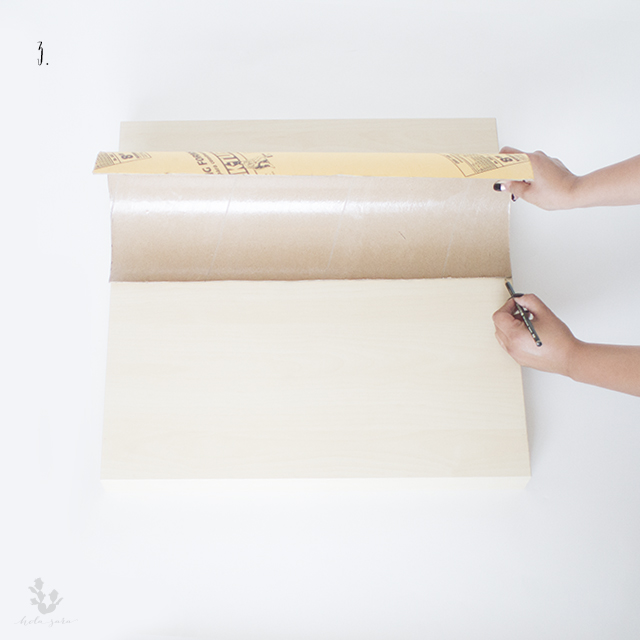

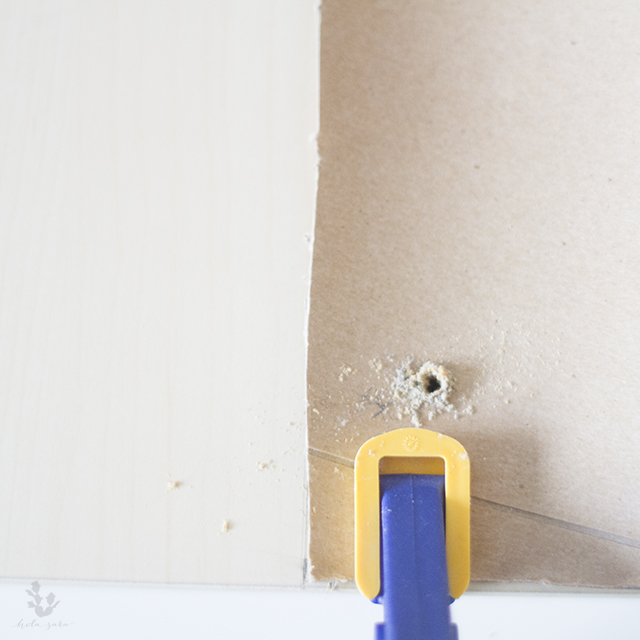
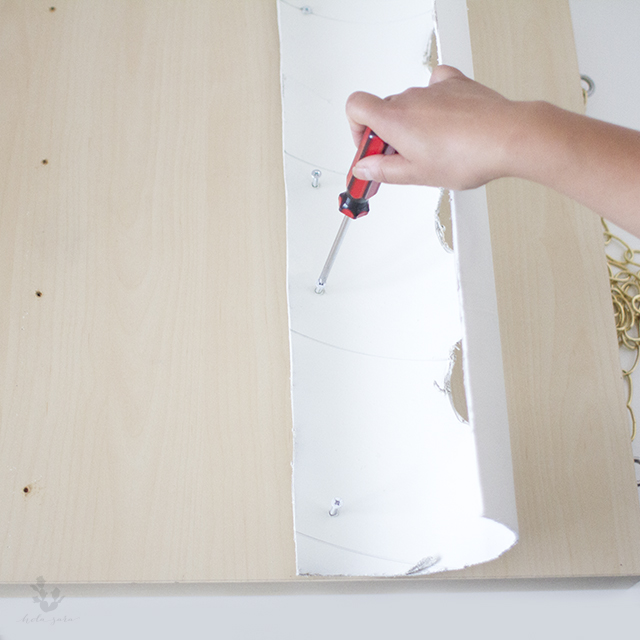
Step 3:
Next you will pre-drill the holes into the sonotube and table top together so your holes line up. Figure out where you would like to place them and mark it lightly with your pencil using a ruler to connect the marks. You will need 4 screws for each half pipe of sonotube. 1 at each end and 2 in the middle. I had a few random screws, so since I was not using the legs for this project I tested the drill bits and screws on the table legs first, before deciding which ones to use. I used clamps and painters tape to hold my sonotube in place. You can ask a friend to help you if you don’t have clamps available. Also remember to use the appropriate bit size for the screw you are using.
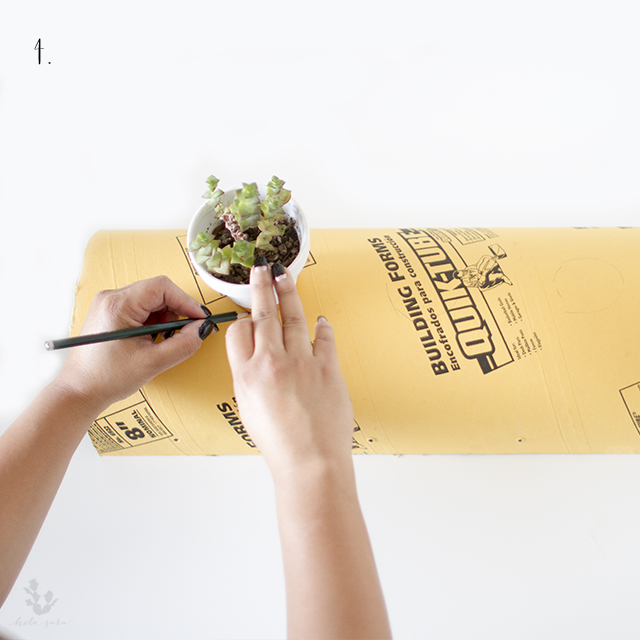
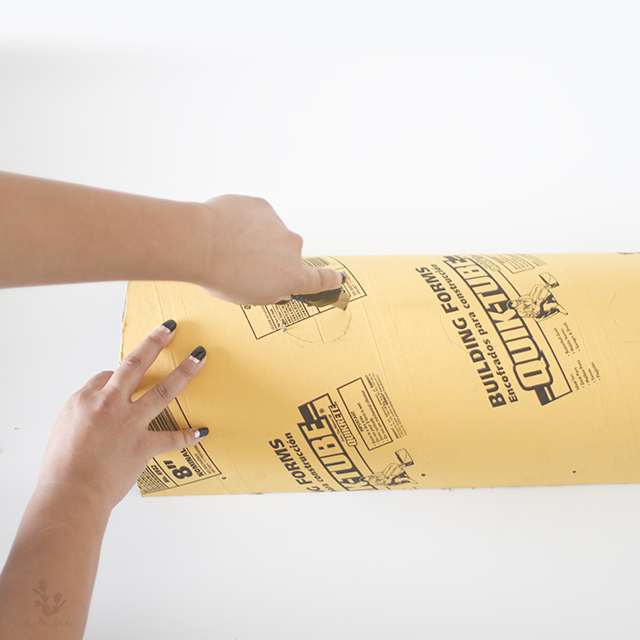
Step 4:
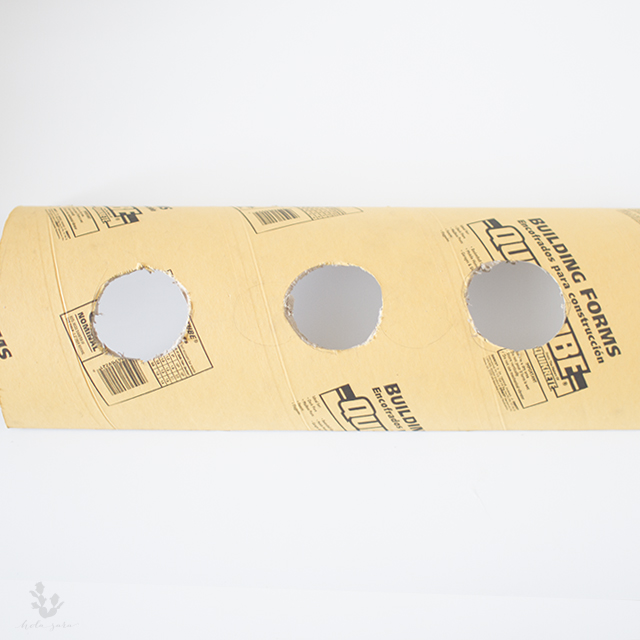
Since we’re making a hanging planter, you’ll need to cut out the holes for your pots. Trace the bottom of your pots on the peak of the half pipes with your pencil. With the box cutter, cut out the area you traced. I cut out 3 holes for each half pipe.
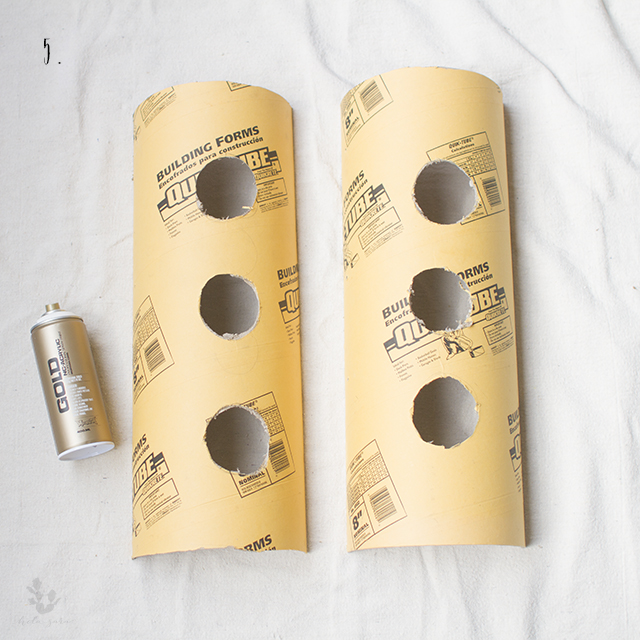
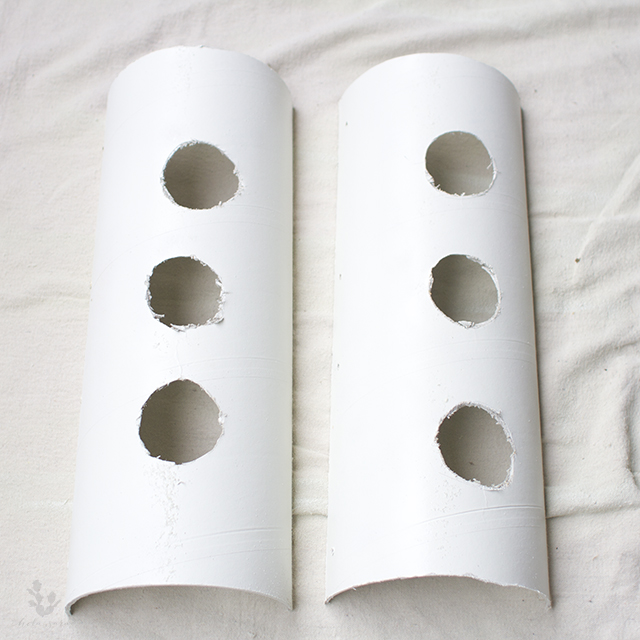
Step 5:
In a well ventilated area, on your drop cloth, spray paint your half pipes. You’ll want to spray paint in a back and forth motion making sure to get an even coat. A second coat may be necessary depending on the color. I had to do two coats for mine. I wanted a monochromatic clean look and chose the color white. You can choose any color you like. If you don’t have a drop cloth, a large piece of cardboard or plastic will do. Protective eye gear and gloves are not necessary but use caution when spray painting. Let your half pipes dry completely. Your drying time will depend on the spray paint and outside temperature. Check the directions on your can for exact drying time. Mine took 3 hours to dry, and I needed to do a second coat.

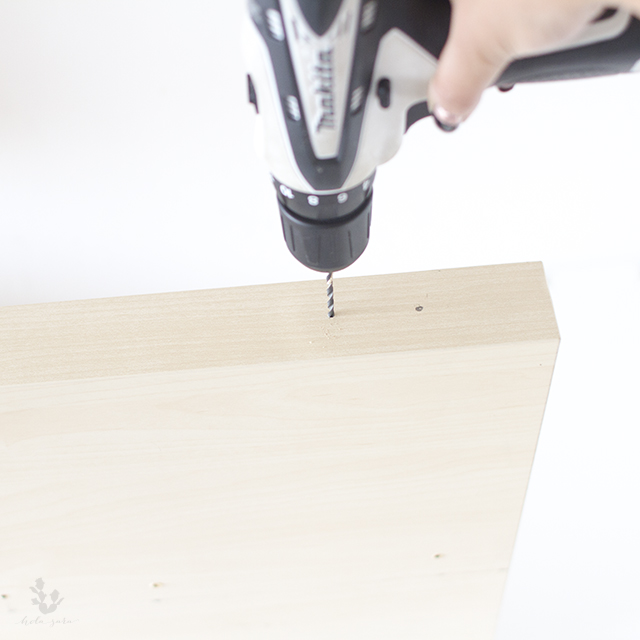
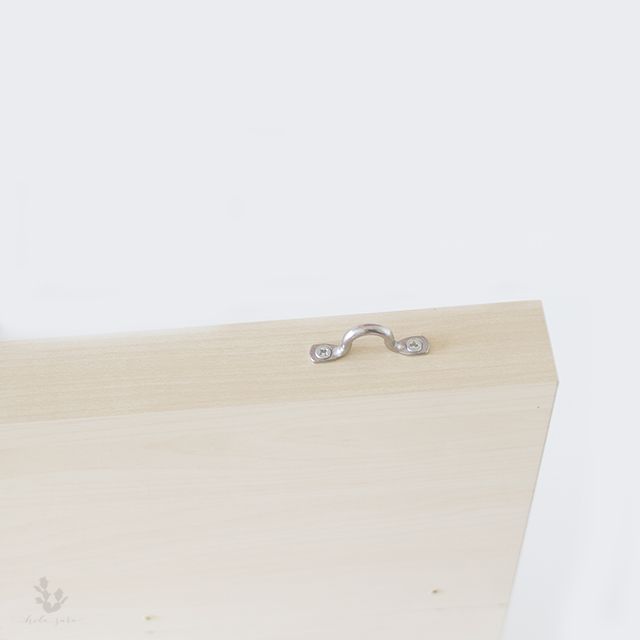
Step 6:
While your half pipes are drying, you can drill in the brackets to hang your chain. Figure out where you would like place the brackets and mark the area with your pencil. You will need to pre-drill the hole. Remember to use an appropriate bit size for your screws. I eyeballed where I was going to drill my holes, but you can also measure them. Place the screws into the holes of the bracket and screw to the top of the table. You will use 2 brackets and 4 screws.
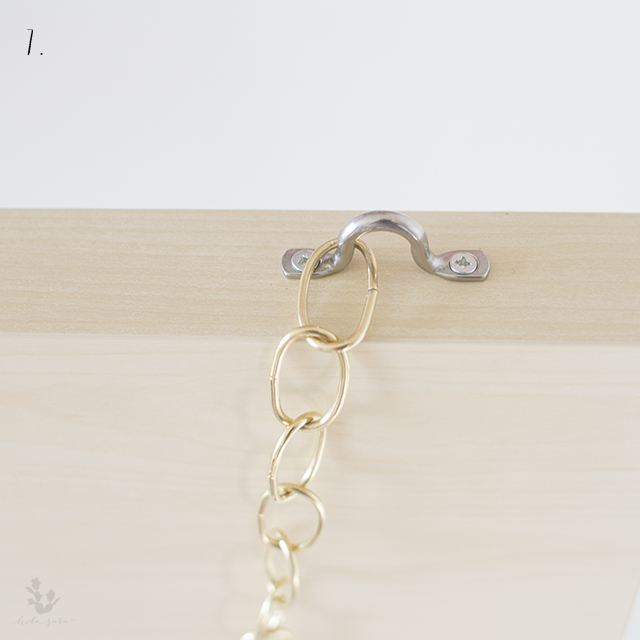
Step 7:
Attach the chain to the brackets so it’s ready to hang. The length of my chain was 36 inches. You can decide how long or short you would like your planter to hang.
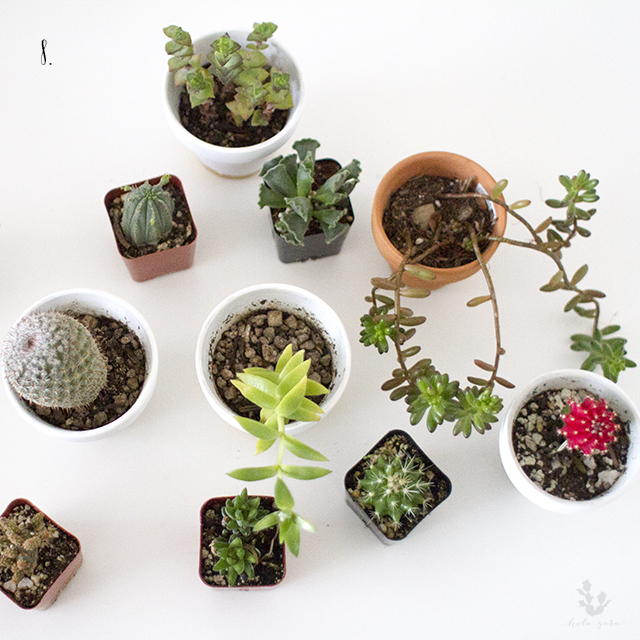
Step 8:
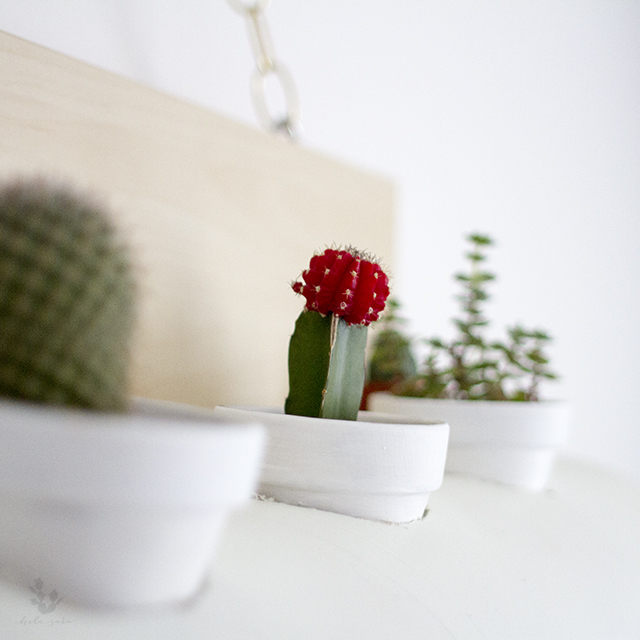
Screw your half pipes into the pre-drilled holes from Step 3. Now place your pots into the holes you cut out earlier. We have two shelves, the top one is for plants that need full sun and the bottom one is for plants that need partial sun and shade. I have my cacti on the top and my succulents at the bottom.

I am enthusiastic to be considered for this eHow’s #ProjectThrowdown Home Decor challenge and participate as one of the 6 creators. My blog is so new, and it seems like it’s in a tiny corner of the internet, but to be part of something like this has me feeling like a maker.
Don’t forget to pin my post from pinterest at the bottom of this post, the winner with the most shares, pins, re-gram will be the winner. You’re all so rad! I appreciate your support and making this experience fun and enjoyable.