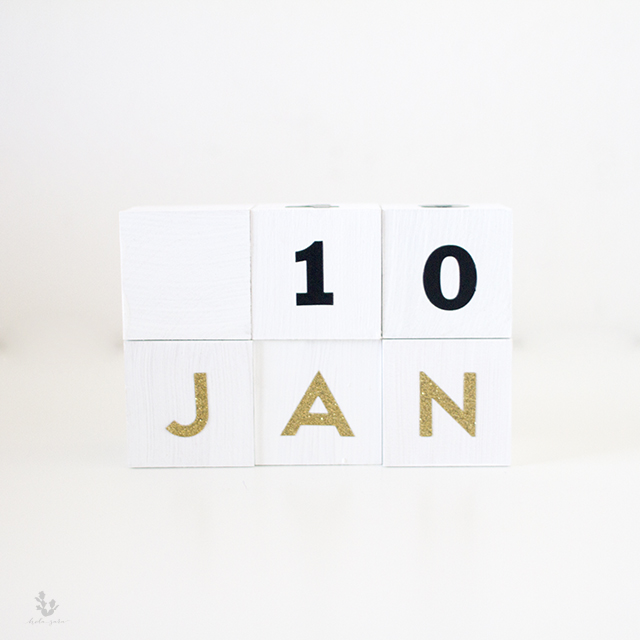
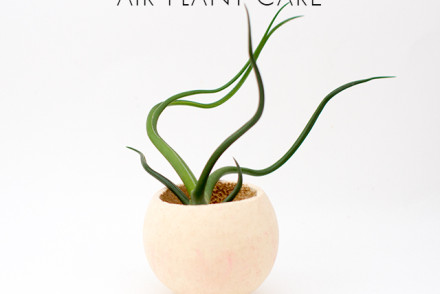
Hola amigos! I hope everyone had wonderful new year’s celebrations. I’m really excited about the fun projects and recipes coming up in the year to come. To kick off 2016, I have an easy and minimal DIY project for you — a wooden block calendar. I’m particularly fond of its compact form, you may think that the blocks might take up too much space, but it can fit anywhere and can be used year round.
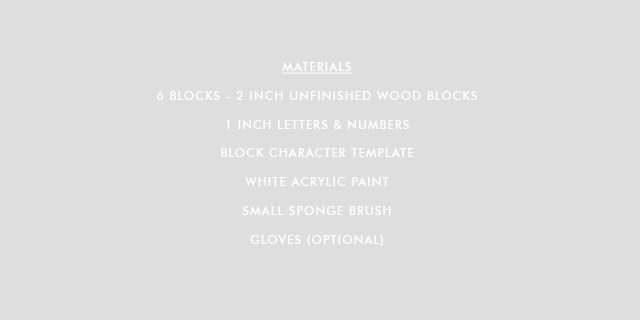

You’ll need just a few items, and the block-character-template I created, showing the letter and number placement on the wooden blocks. It took a little bit of puzzle solving skills to figure it out, but I know a guy who loves puzzles and he was willing to help a girl out.

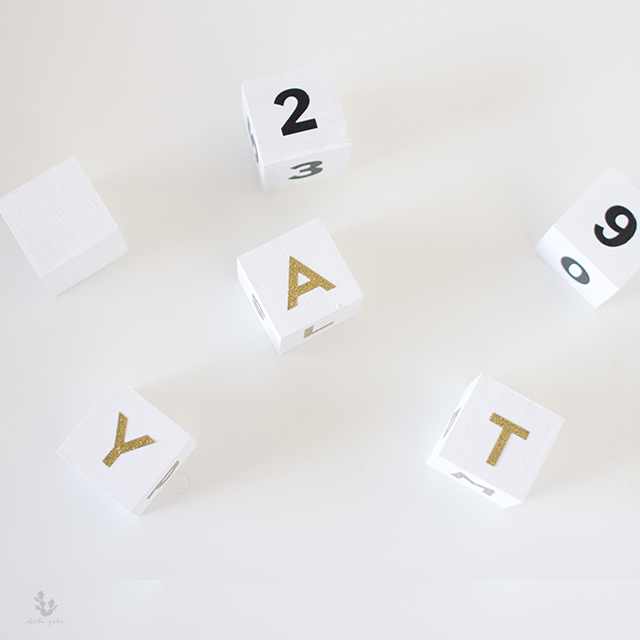
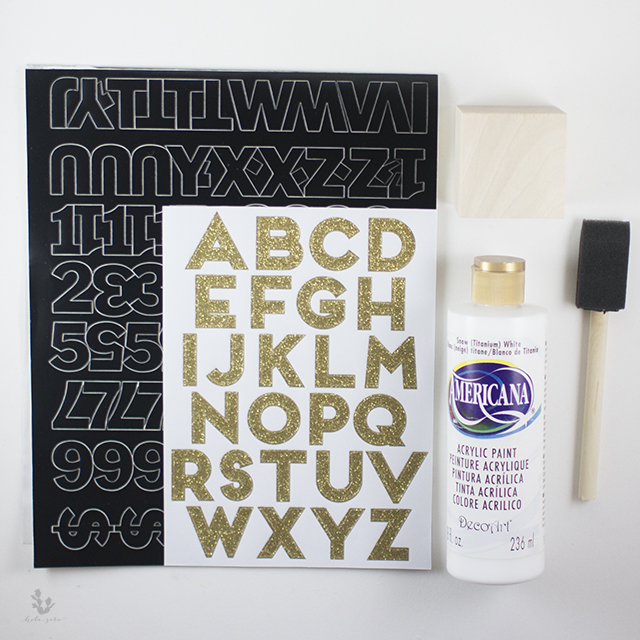
Start by painting your cubes. I am using 2 inch unfinished wooden cubes, and I chose to paint mine white (of course). You should choose any block color that you’d like, just make sure to buy numbers that are colored complementary to it. I started by painting the sides of my blocks first, then let them dry for a few hours, before painting the tops and bottoms.
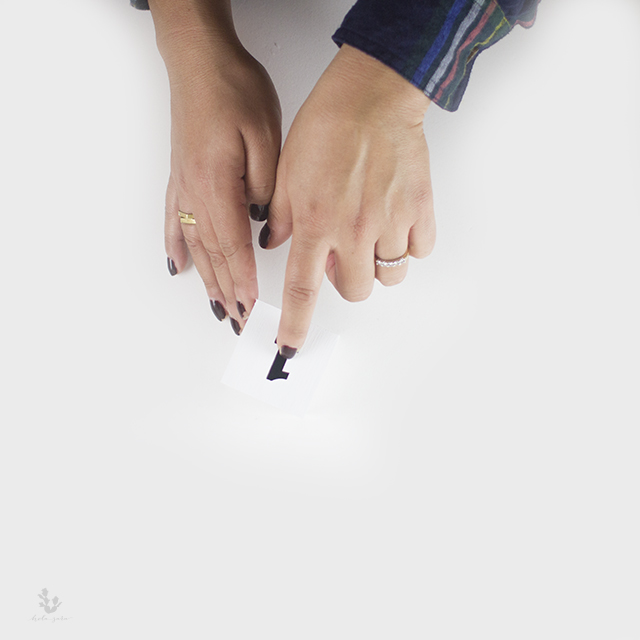
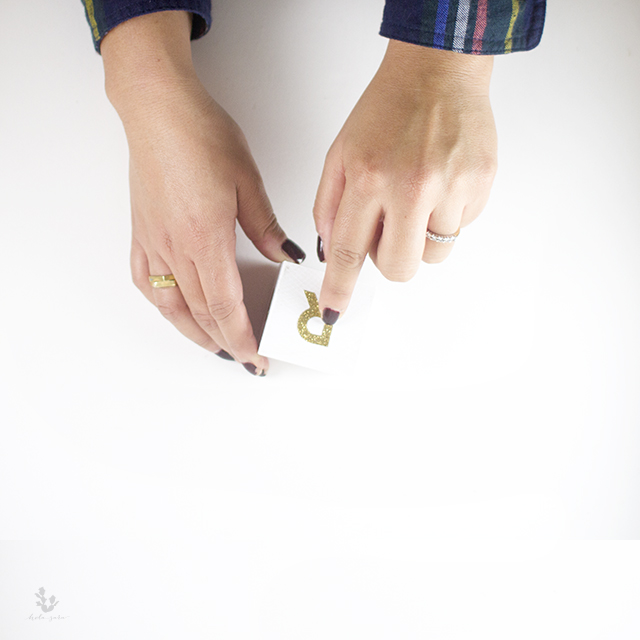
Once your blocks are completely dry, follow the block character template to help you place your stickers. I used Meri Meri 1 inch gold alphabet stickers and permanent adhesive 1 inch black numbers. Gently center your stickers onto your blocks. Once you have them centered, firmly press and stick them to your blocks. Do the same for the numbers. And that’s all folks! It is seriously that easy. If you got creative with this DIY, I’d love to see your take on it — just tag it with #mymadebyholasara.