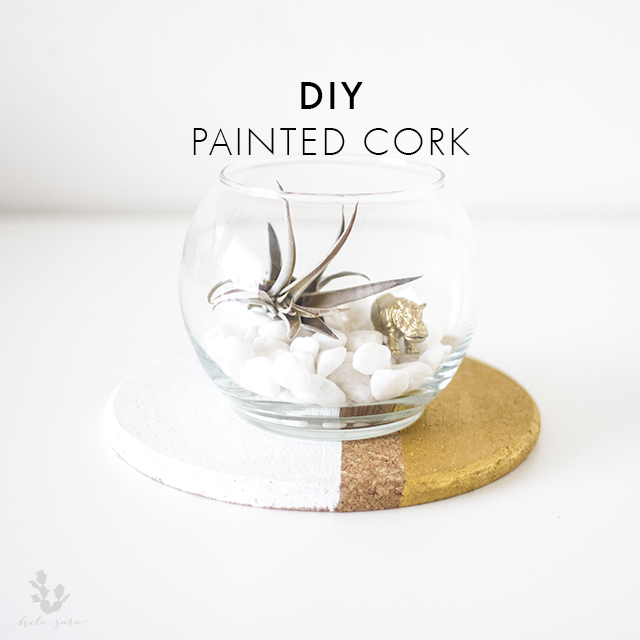
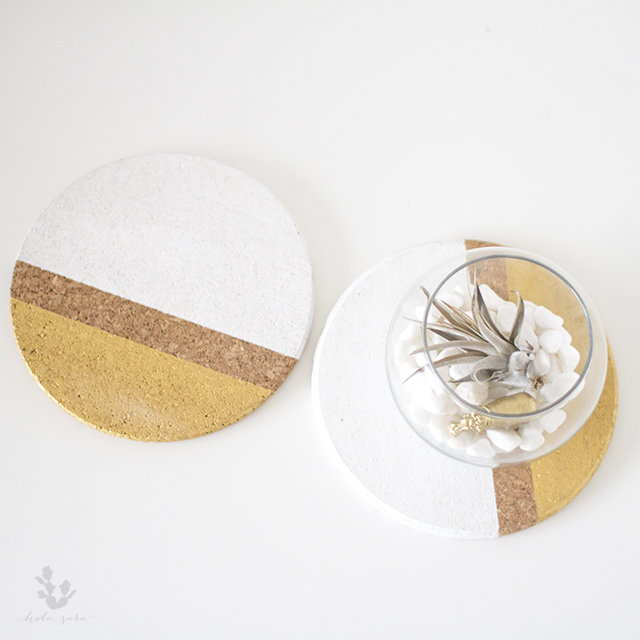
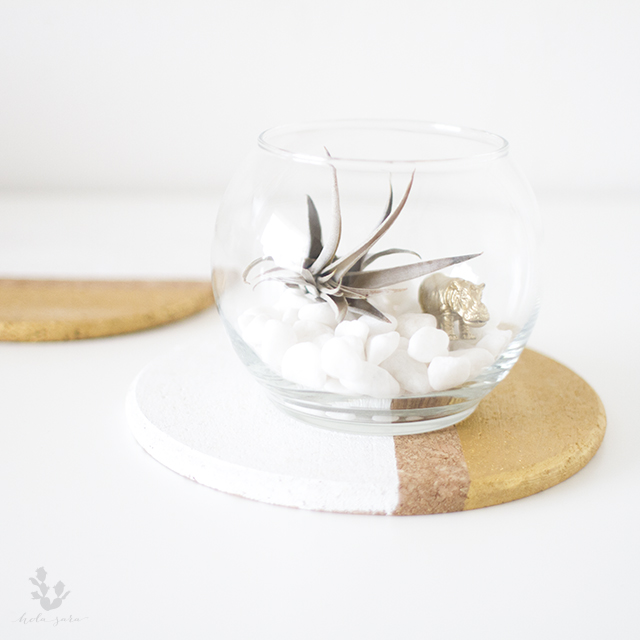
I’ve got a good DIY that is so easy you’ll want to make a million of them! It can be completed in 4 easy steps. I use mine to display my plants and I plan to use them in the centerpieces for my nephew’s upcoming birthday celebration. These cork rounds can also used as chargers, trivets, even hang it as a bulletin board, and smaller ones can be used as coasters. The possibilities are endless!
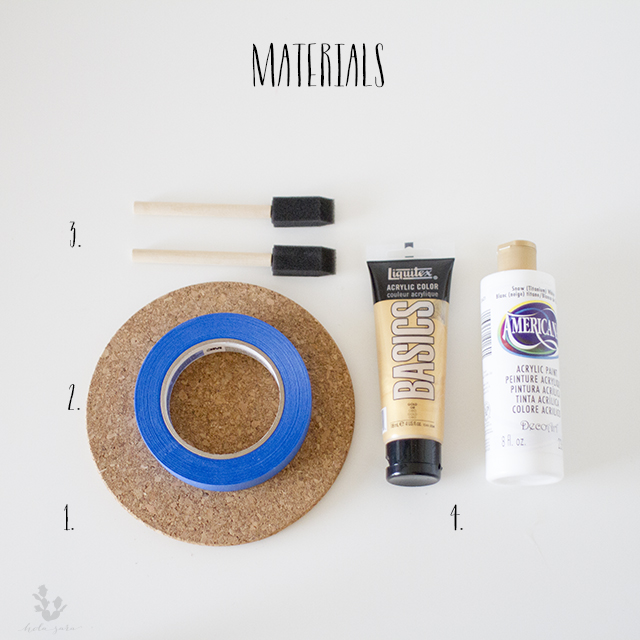
Materials:
- Cork (circle or square)
- Painters tape
- Sponge brush
- Acrylic paint (any colors)
- Manilla folder*
*not shown
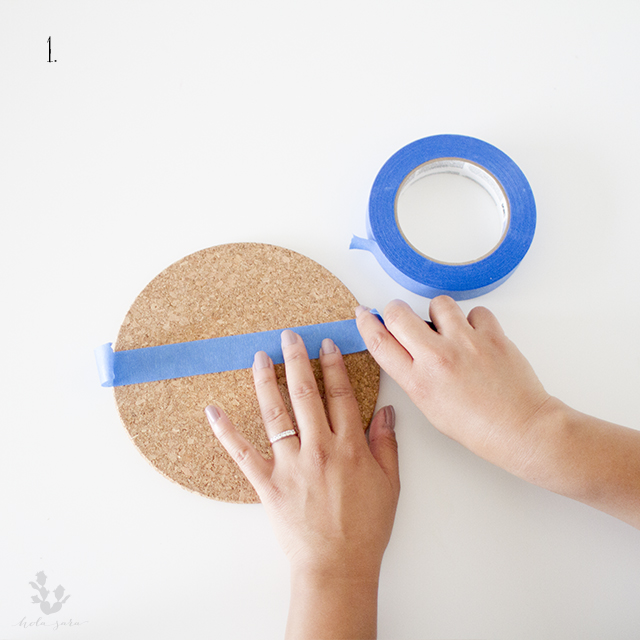

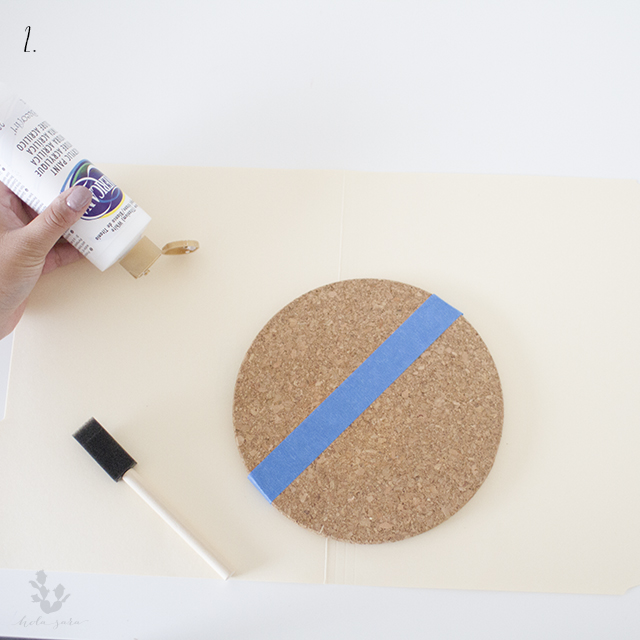
Step 1:
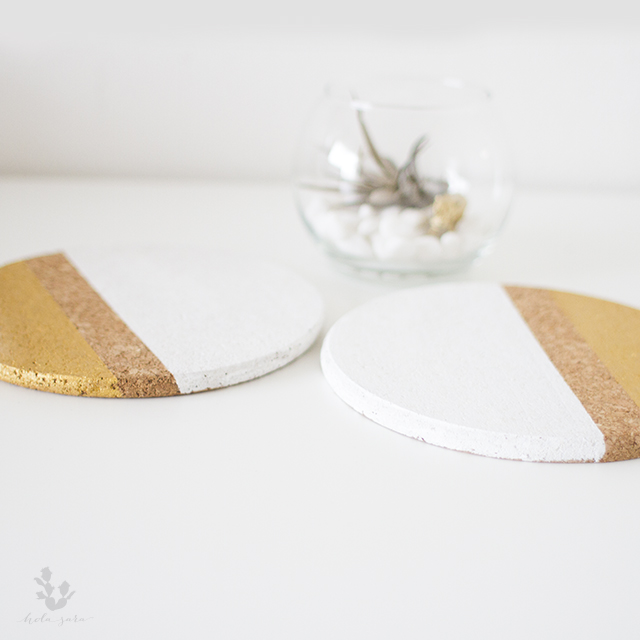
Mask area you don’t want painted with painters tape. As per my usual, minimalist aesthetic I used two colors; white and gold. I kept it simple with a linear design. I bought my cork at IKEA, you can also purchase them here.
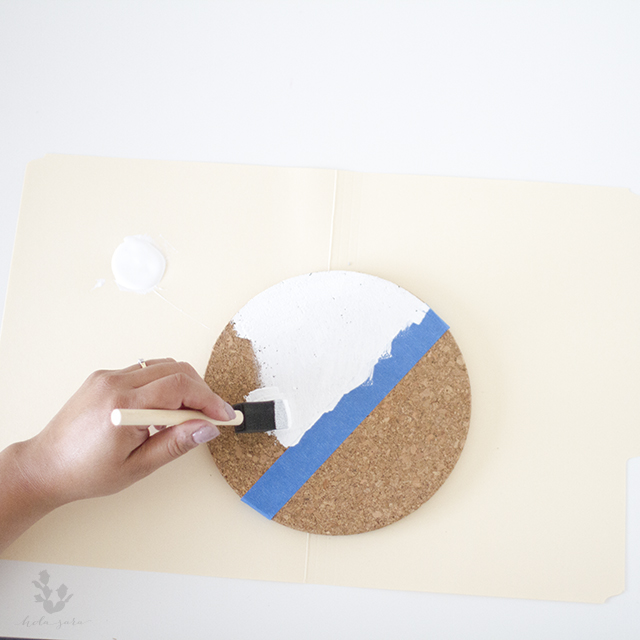
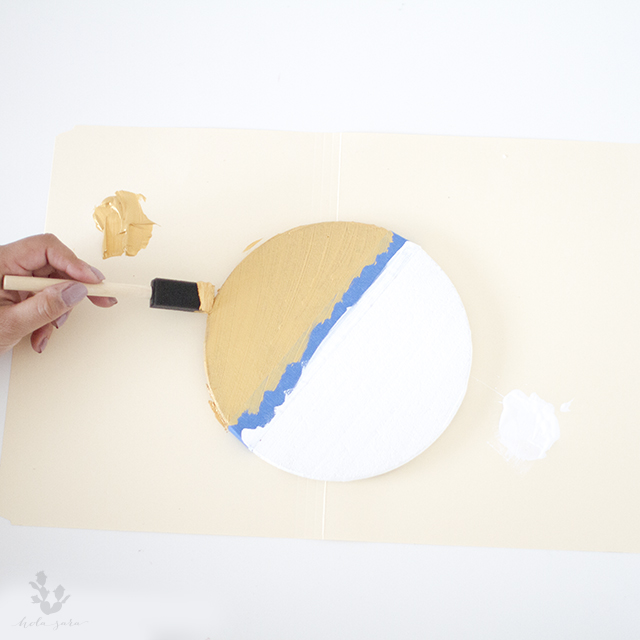
Step 2:
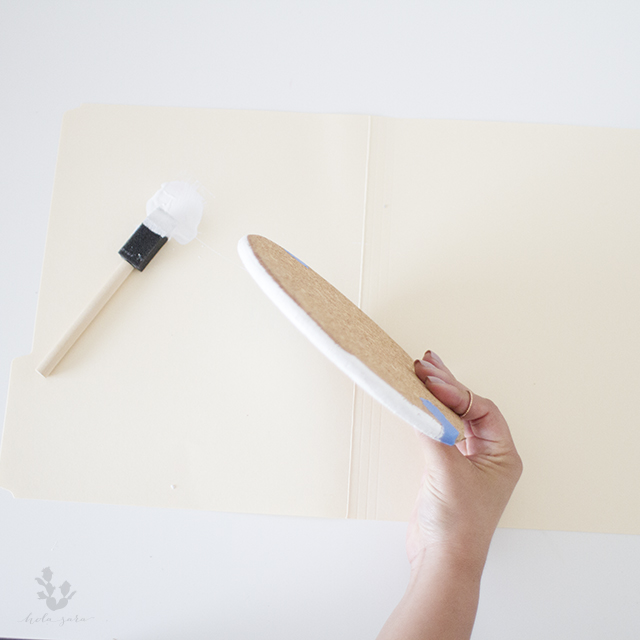
Use the manilla folder as your work space and squeeze some paint onto the folder. Paint the area you didn’t mask with your sponge brush. I am using a separate brush for each color. If you are only using one brush make sure to thoroughly wash it before using another color. I painted the sides of my cork, this part is optional depending on the look you want.
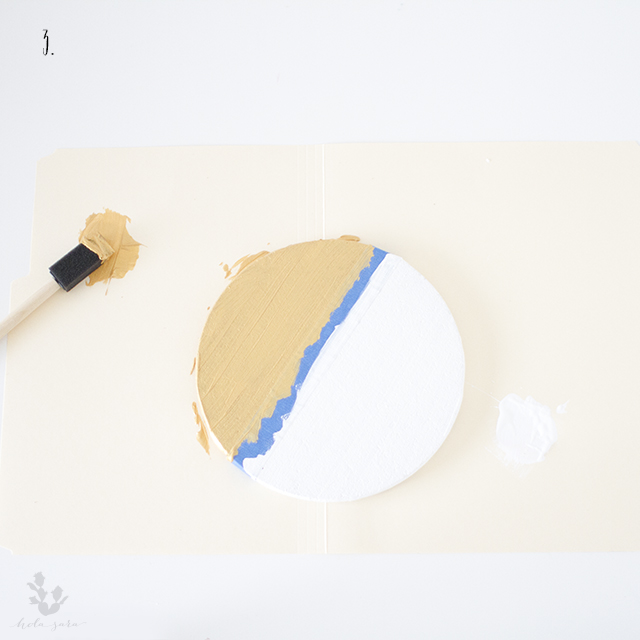
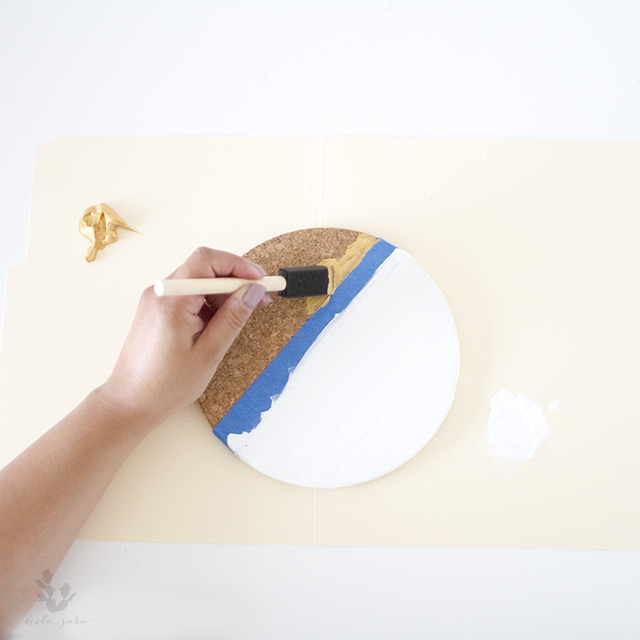
Step 3:
Use the manilla folder as your work space and squeeze some paint onto the folder. Paint the area you didn’t mask with your sponge brush. I am using a separate brush for each color. If you are only using one brush make sure to thoroughly wash it before using another color. I painted the sides of my cork, this part is optional depending on the look you want.
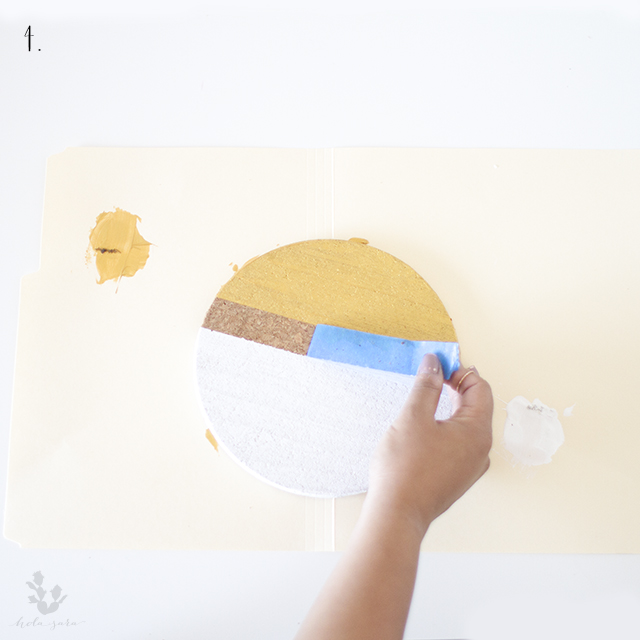

Step 4:
Remove painter’s tape and enjoy!
Don’t forget to hashtag your project on social media #mymadebyholasara. I can’t wait to see what you create.